The advanced rendering capabilities in Solid Edge are an extension of the Explode-Render-Animate application. This functionality can enhance the quality of images used in documents such as customer presentations or marketing and sales literature.
With the advanced rendering capability, you have a single view style called presentation view style that contains all of your rendering settings.
A library of predefined entities such as materials, backgrounds, render modes, and light studios is available. You can customize the library with user-defined settings, but you cannot edit, delete, or modify the contents of the original library. This ensures protection for the original data stored in the library. Any custom settings you add to the library are stored in a separate file. You can have multiple libraries.
The advanced rendering capability uses the Solid Edge display for view manipulations. It supports part visibility and will only render what is on the screen. The Sharpen command is available when working with advanced rendering to allow you to make your graphics crisp and clear. Sharpening the display of the model will increase the quality of the rendering.
Advanced rendering provides rendering support for these entities:
Environments
Advanced rendering is activated automatically when you click the Render Scene and Render Area buttons when you have a Solid Edge Classic license. When you click these commands, two new tabs are added to PathFinder automatically.
 The Session Entities tab displays the name of the active assembly, along with a tree structure that shows you the entities that are applied to the assembly. You can right-click an entity to display a shortcut menu to:
Edit the properties of an entity as the basis for creating a new entity.
Detach (remove) a material that you have applied to the model.
Cut, copy, and paste an entity.
Rename an entity you created.
 The Predefined Archives tab displays a list of folders that contain predefined entities, such as backgrounds, foregrounds, and materials. You can right-click an entity to display a shortcut menu to:
Create a new archive folder or advanced rendering entity.
Apply an entity to the model.
Cut, copy, and paste an entity.
Rename an entity you created.
A toolbar  on the Predefined Archives page contains commands used to create, save, open, close, and import customized entities in user-defined archive folders.
Any material, color, background, light, or scene that you want to customize needs to be applied to the assembly first, and then modified within the Session Entities tab to look the way you want it to. When you have adjusted the parameters of an entity so that it looks good on the model, you then copy the entity from the Session Entities page to a user-defined entity archive on the Predefined Archives page on PathFinder.
You can use the <Entity> Editor dialog box to edit the advanced rendering entity settings. To display the dialog box, click the Sessions Entity tab on PathFinder. Right-click the entity you want to edit. For example, if you want to change the material settings for the rendering, right click Materials. On the shortcut menu, click Edit Definition.
The options on the dialog box change based on the shader you select. A shader is designed to imitate a real-world look for things such as material, light, and rendering mode. Every component in advanced rendering is based on a shader, and each shader has multiple options that allow you to control the look and feel of the renderings.
There are two ways to apply an advanced rendering entity.
You can select the entity from the library in the Predefined Archives tab and drag it onto the model in the graphics window.
You can first select a model part in the graphics window, then right-click an entity in the Predefined Archives tab and choose Apply To Selected on its shortcut menu.
After applying the entity, you can use the Render Scene or Render Area command to see what the change looks like in the model.
You can use the Save As command to save a rendered image.
When saving images, you should follow these guidelines.
To calculate the memory requirements for the image, multiply the image size (in pixels) * 4 (true color). For example, for an image 500 x 500 pixels, the memory requirements are 10 MB (500 x 500 x 4).
To calculate the file size for the image, multiply the image size * 3 (true color).
On the Image Options form, set the Alternate View Style to Presentation View Style.
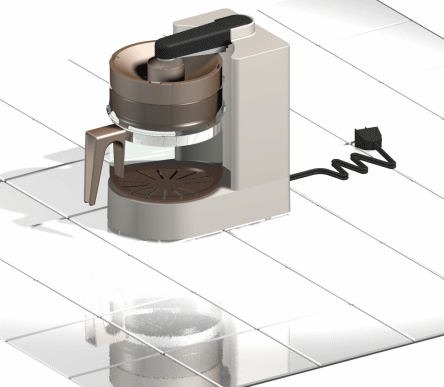
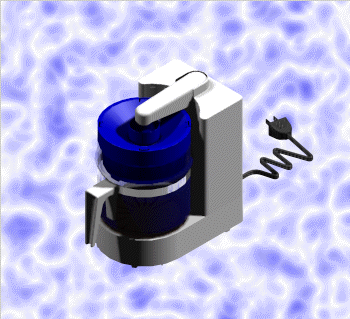
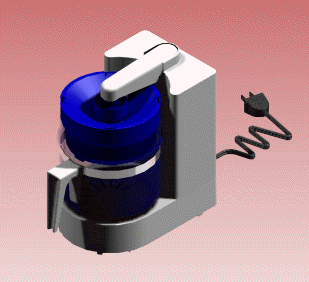
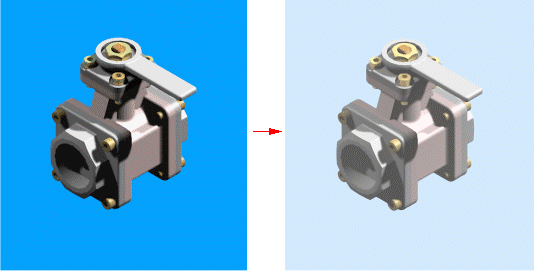
Backgrounds are a simple way of enhancing the screen area behind a model. They appear in reflective surfaces so they can impact a model's appearance and add context to the model's image.
Note:
Backgrounds in advanced rendering inherit the background in Assembly.
Advanced rendering supports the following background shaders.
Graduated
A smooth linear transition from one color to another. In other words, there is a gradual change in background colors as you go from the top to the bottom.
Image
Plain
None
To learn how to stretch a background image so that it fills the window, see the Help topic, Set a Background Image in Explode-Render-Animate.
Foregrounds allow you to add additional view effects that help simulate various atmospheric effects such as fog. You can add foregrounds from the library or you can edit the view settings directly.
Note:
Foregrounds in advanced rendering do not inherit any assembly settings.
Advanced rendering supports the following foreground shaders.
Depth Cue
Depth Cue fades an image to a particular color to portray a sense of depth in the image.
Fog
None
Advanced rendering includes a wide range of materials to simulate such things as wood, plastic, marble, and metal. It also supports advanced surface effects for texture maps and bump maps.
The material definition is inherited from the style definition in the assembly. For example, a part with a green style in the Assembly environment will initially be green material in advanced rendering. The materials applied to a model in advanced rendering are available only when using the Render Scene and Render Area commands in the Explode-Render-Animate application. For example, if you apply a red material to a green part, the part will still be green when you are not using these commands.
You can apply a material to a single or multiple occurrences of parts. For example, suppose you have several parts with a material definition of blue. If you change the material definition to dark blue, all parts with blue material are affected.
Advanced rendering supports several properties and allows you to set the following settings:
Color
Reflectance
Transparency
Displacement
Texture space
When working in Explode-Render-Animate, you can modify the existing materials to create different colors and properties. Once that is done, you can create a new archive (.lwa file) for the modified entities, so you can apply them to different projects whenever you want.
You can define colors as plain colors, patterns such as wood, granite, and marble, or a textured map based on a bitmap image. The color settings support shaders such as plain, woods, marble, and wrapped images.
Reflectance properties affect the way light interacts with the materials. You can use these properties to apply such effects as:
Mirror reflectance
Plastic reflectance
Glass reflectance
Metal reflectance
The reflectance settings support shaders such as chrome 2D, conductor, glass, matte, metal, and mirror. Some of the most common options for these shaders include:
Specular factor
The specular factor is the amount of highlight or light reflected from a triangle where its normal matches the light vector.
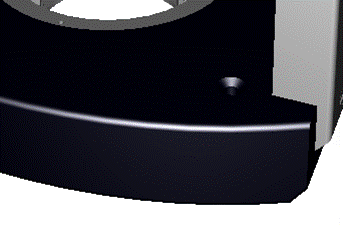
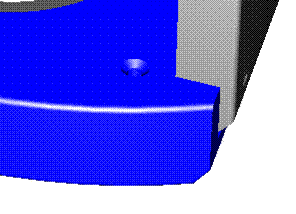
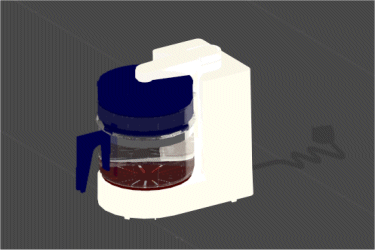
With a low specular factor, the appearance of the blue plastic seems to be dull,
compared to a high specular factor that produces a shiner, almost mirror-like effect.
Diffuse factor
The diffuse factor is the amount of light reflected from triangles where the light is approximately 45 degrees from the light ray.
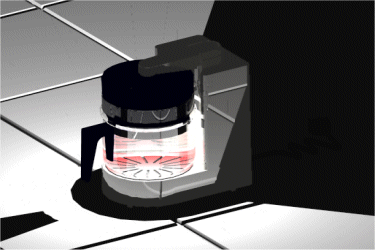
A low diffuse factor produces a dark image,
compared to a high diffuse factor.
Mirror factor
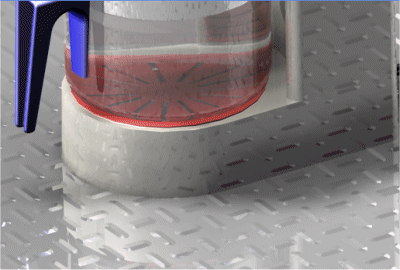
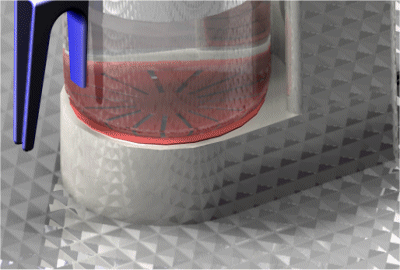
Transparency is the amount of coverage by a color filter to simulate glass or some plastic materials. The values range from 0 for transparent to 1 for opaque. The transparency settings support shaders such as none, glow, plain, and wrapped image.
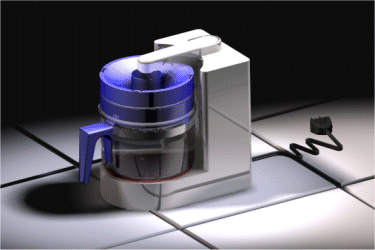
You can apply simple transparency to a model,
![]()
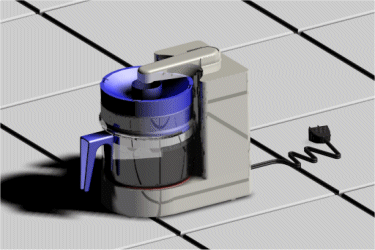
or combine it with properties such as reflectance, you can produce a more accurate looking image.
![]()
Surface displacement defines surface deformations by applying such effects as simple surface roughness, patterns such as leather and dimples, or tread plates. The displacement settings support such shaders as none, casting, leather, rough, wrapped displacements.
Wrapped displacement shaders simulate materials with an imprinted pattern. Some of the common wrapped displacement shaders include:
Wrapped tread plate
Wrapped tread plates imitates slip resistant shaped tread pattern. Also known as diamond plate, this material is commonly used for outdoor steps.
Wrapped knurl
Wrapped knurl imitates handgrips and is a common finish for barbell handgrips.
Wrapped dimple
Wrapped dimple simulates a slip resistant bubble-shaped pattern. Also known as diamond plate, this material is commonly used for outdoor steps.
Wrapped leather
Wrapped leather imitates leather and is commonly used for camera bodies, chairs, and desk ground.
You can use the displacement settings to define a bump map based on bitmap images. The direction of the light source determines the surface texture of the rendering. Lighter areas are rendered as raised portions of the surface and darker areas are rendered as depressions in the surface. A gradient render is done between the light and dark areas.
You can use texture mapping to define how a texture is wrapped onto the surface.
A light studio is the top-level container for all lights used in a model. It provides a fast and simple way to change the entire light scheme. You can change such things as:
Shadows
Intensity
Shadow type
Shadows can be soft or hard. Soft shadows are gradually diffused to create a more realistic lighting effect. Hard shadows can be colored and are useful for such effects as stained glass.
Shadow resolution
Each light in the light studio has its own set of attributes, such as light type and color. These attributes are defined by a light shader.
You can quickly turn light sources on and off by setting or clearing the check box displayed adjacent to each light in the Light Studio branch of the Session Entity tree on the EdgeBar tool.
Lighting is very important to rendering because it gives a sense of depth to the scene and highlights the shiny surfaces. Lighting supports the following shaders:
Ambient light
Point light
Spot light
Distant light
Sun
Sky
More
These shaders contain options that affect the light. Some of the most common options include color, intensity, and location.
Ambient light illuminates all surfaces regardless of orientation. This is useful for illuminating the scene that is not illuminated by other light sources.
Point light emits light equally in all directions from a point specified by an X, Y, and Z definition. This type of light is useful when lighting enclosed spaces or simulating the effect of a light bulb.
Spot light emits light from a single point and is contained by a cone. The starting and ending positions of a light are specified by X, Y, and Z definitions. This type of light is useful for focusing attention on the model or part of the model.
Distant light emits light parallel to a specific point as if is from a very distant source. Solid Edge uses distant lights, which are used for general lighting.
To learn how to use the lighting controls, see the Help topic, Edit Light Entity Properties for Advanced Rendering.
Advanced rendering provides rendering settings that allow you to control such things as reflections and the amount of light that bounces between objects. Advanced rendering does not inherit any rendering settings from the Assembly environment. Any changes you make to the rendering settings in advanced rendering do not change in Assembly.
Advanced rendering supports two classes of rendering:
Photorealistic
Artistic
Each render mode uses a shader to produce special effects and each shader includes a variety of options. The available options differ depending on the shader you select.
Photorealistic rendering supports ray tracing to show reflections and refractions. Photorealistic rendering supports such shader options as anti-aliasing, transparency, and reflections.
Ray tracing—plots a path of imaginary rays from the observer's eye through each pixel on the screen, back to the 3D environment. These rays are tracked as they bounce from one object to another to the light source.
Anti-aliasing—a method of displaying elements on a low resolution device to make the object appear smoother. You can control the level of anti-aliasing. The more anti-aliasing you apply, the smoother the display will be, but it will also take longer to process.
You can choose from a variety of artistic rendering modes to make a 3D model look as if it was hand-drawn, painted, a mosaic, among others.

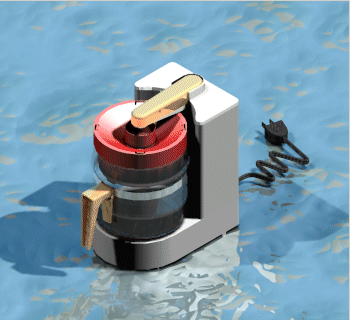
Scenery allows you to enhance your renderings by adding such affects as tiled floors or water.
Advanced rendering supports the following types of scenes.
Circular bases
Panoramas
Rooms
Square bases
None
Schemes allow you to enhance your renderings by adding background images and lighting settings listed below:
2D Schemes (HDR) with 2d backgrounds and lighting.
3D Schemes (HDR) with 360 backgrounds and lighting. The 3D schemes rotate relative to the view.
Note:
These 3D scenes are not displayed during real time rotations. The scene will need to be rendered again to see the scene.
Four levels of quality are provided. These are:
High Quality HDR
Medium Quality HDR
Draft HDR
Ambient Occlusion (AO)
Schemes:
Interior Schemes
Exterior Schemes
Studios
2D Abstract Backgrounds and Reflections
2D Exterior Back plates
2D Interior Back plates
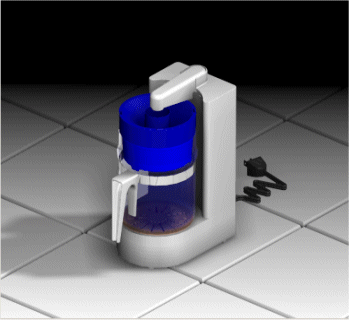
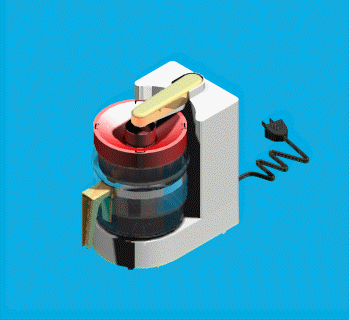
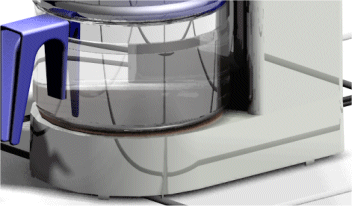
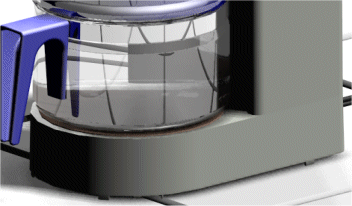
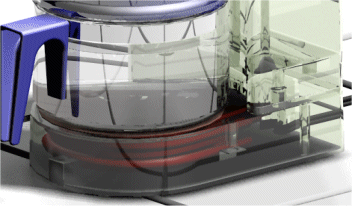
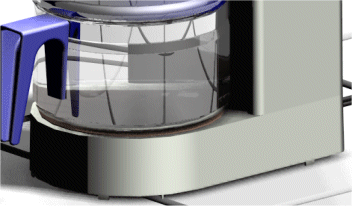
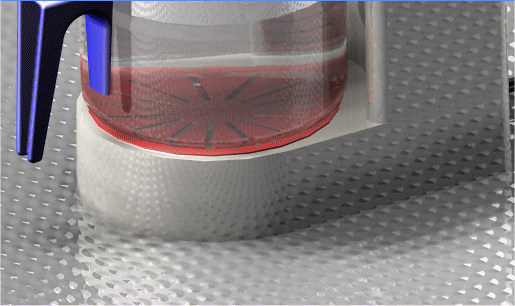
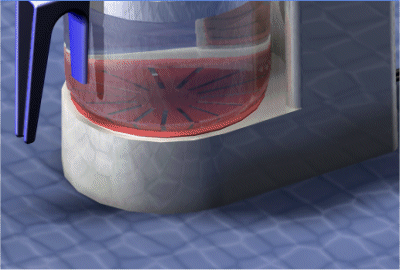
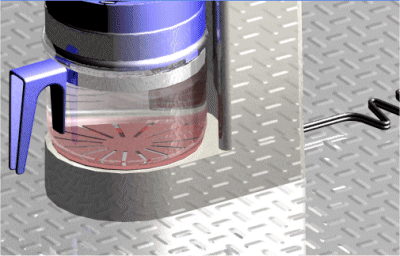
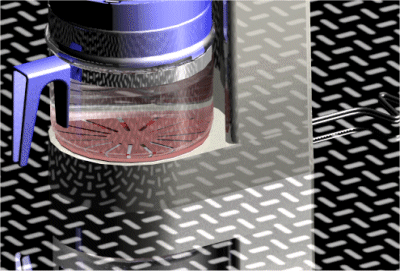
Examples:
![]()
![]()
![]()
![]()
Note:
Digital background images can be substituted by editing the definition of a scheme in the session entities tab of pathfinder.