The Add Break Lines command defines regions you want to remove in a part view. This creates a broken view of a long, slender part so you can display it at a larger scale.
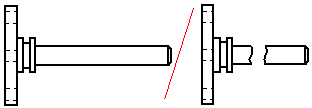
You can break a part horizontally and vertically in the same view.
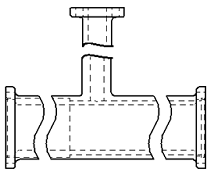
You can specify five different types of break lines:
|
Break line type |
Example |
|
Straight |
|
|
Cylindrical |
|
|
Short Break - Linear |
|
|
Short Break - Curved |
|
|
Long Break |
|
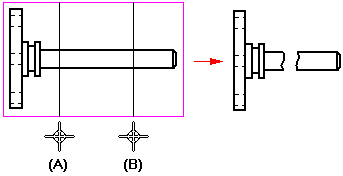
The Add Break Lines command, which is available from the drawing view shortcut menu, defines a pair of break lines for each region of the part you do not want to display. You can use the buttons on the Add Break Lines command bar to specify a horizontal or vertical break line pair. You can define as many break line pairs as you want. After you have defined all the break line pairs, use the Finish button to generate the broken view.
For example, to remove the region as shown in the illustration on the right, you would define a break line pair as shown at (A) and (B).
You can use the Show Broken View button ![]() on the Drawing View Selection command bar to display a previously defined broken view. When this button is deselected, the view is displayed in the unbroken state.
on the Drawing View Selection command bar to display a previously defined broken view. When this button is deselected, the view is displayed in the unbroken state.
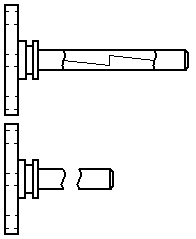
When you want to modify a broken view, first display the entire drawing view using the Show Broken View button on the Drawing View Selection command bar. Then, you can:
Delete a broken region by selecting a break line pair and then selecting the Delete key.
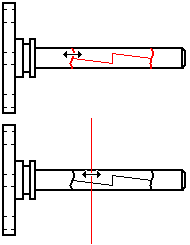
Resize a broken region by selecting the break line pair, positioning the cursor so that a double arrow displays, and then dragging to reposition one or both of the break lines.
You can control the visibility of the break lines using the Hide break lines in broken state option on the General page, Drawing View Properties dialog box.
Add dimensions and annotations to the broken view after you define the broken view regions. Dimensions on a broken view reflect the actual length of the part.