Choose Home tab→Sheet Metal group→Flange.

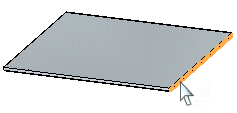
Select the edge to which you want to add a flange.
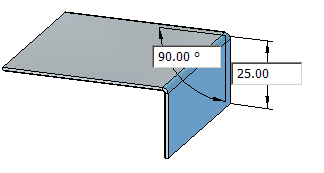
Click to define the side and length of the flange.
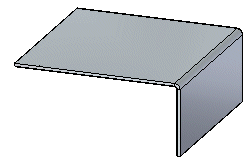
Click the Finish button on the command bar.
Note:
The default flange width is the same as the width of the edge you select. You can change the flange width by selecting one of the buttons on the command bar for defining a partial flange.
Tip:
You can also define the length of a flange by typing a value in the Distance box on the command bar.
When constructing flanges at angles other than 90 degrees, you should use the Bend Outside option.
You can use the options in the Offset step to create a flange offset from a selected edge, match the orientation of a flanged to a selected target face, or create a flange with no offset from a selected edge.
Select the thickness face to which you want to add a flange to display the flange start handle.

Click the flange extrude handle.

Click to set the distance or type a value.

Note:
Use the Tab button to switch between the distance and angular value controls.
(Optional) Type a value to change the flange angle.

Right-click to place the flange.

Tip:
You can select multiple thickness faces to create multiple flanges in one operation.

When creating multiple flanges in a single operation, an entry is created in PathFinder for each flange.
The default flange width is the same as the width of the edge you select. You can change the flange width by selecting the Partial Flange option on the QuickBar.