Blend Type
|
Variable |
Specifies that the rounded edge can have a variable radius value. After you select the edges you want to round, you define the radius values you want in the Select Vertices Step by selecting vertices and keypoints and typing the radius value you want for that location. |
|
Blend |
Species that the round will be a blend between two surfaces you select. If either of the selected surfaces are part of a tangentially connected chain of surfaces, the blend is applied to the chain of surfaces. You can only select faces that are part of a solid body when this option is set. |
|
Surface Blend |
Species that the round feature will be a blend between two surfaces you select. If either of the selected surfaces are part of a tangentially connected chain of surfaces, the blend is applied to the chain of surfaces. When this option is set, you can also specify whether you want to trim the input surfaces or the output surface blend using the Surface Blend Parameters dialog box. You can only select faces that are part of a surface body when this option is set.
|
Steps
Select Step
Selects the edges and faces to round or blend.
Select Vertices
For variable radius rounds only, specifies the vertices for rounding.
Side Step
For surface blending only, specifies the side in which you want to apply the blend. You can use the cursor to position the arrow on the side which you want the blend.
Overflow Step
For blending only, specifies options for blend overflow.
Round Parameters
Displays the Round Parameters dialog box.
Surface Blend Parameters
Displays the Surface Blend Parameters dialog box so you can define the trim options you want. This option is available when you set the Surface Blend option on the Round Options dialog box.
Preview/Finish/Cancel
This button changes function as you move through the feature construction process. The Preview button shows what the constructed feature will look like, based on the input provided in the other steps. The Finish button constructs the feature. After previewing or finishing the feature, you can edit it by re-selecting the appropriate step on the command bar. The Cancel button discards all input and exits the command.
Command Bar Options
Select Step
|
Select |
Sets the edge selection method for constructing a round feature. You can use any combination of selection methods to select a set of edges to round. Hold the Ctrl key to de-select an edge. For variable rounds:
For blends and surface blends:
|
|
Shape |
Sets the cross sectional shape of the blend. This option is available when you set the Blend option. You can select from the following options:
|
|
Value |
Note: The Bevel, Conic and Curvature Continuous options all utilize the continuity Value. When the Bevel option is set, you can use the Value to control the amount of material removed from the adjacent faces. When the Conic option is set, you can use the Value option control the shape of the blend cross section. When the Curvature Continuous option is set, you can use the Value option to control the shape of the blend cross section.
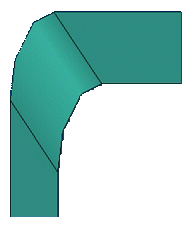
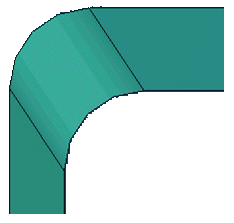
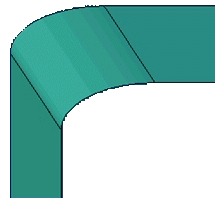
In the previous images, the continuity values are 0.5, 1.0 and 2.0 respectively. |
|
Radius |
Sets the radius for blends. You can type a radius value or select a preset value from the list. |
|
Width |
Specifies the width of the chord for the blend. This option is available when you set the Constant Width option for the blend shape. |
|
Setback |
Specifies the setback value for the blend. This option is available when you set the Chamfer option for the blend shape. |
|
Length |
Specifies the linear length value for the blend. This option is available when you set the Bevel option for the blend shape. |
|
Accept (check mark) |
Accepts the edge selection criteria and selects all edges that meet the criteria. |
|
Deselect (x) |
Clears any selected edges and the edge selection criteria. |
Overflow step
|
Roll Along/Across |
For blending only, modifies the blend to maintain selected edges or continuous blend across selected edges. |
|
Tangent Hold Line |
For blending only, defines a tangent hold line for the blend. You can define a tangent hold line for each of the input faces or for only one of the input faces. |
|
Default Radius |
For blending only, maintains the default radius for the blend. |
|
Full Radius |
For blending only, varies the radius according to the tangent hold line. |
Name
Displays the feature name. Feature names are assigned automatically. You can edit the name by typing a new name in the box on the command bar or by selecting the feature and using the Rename command on the shortcut menu.