The assembly you will open has two zones defined. You will open the assembly using a zone, and then add a new zone.
 From the Solid Edge start screen, click Open Existing Document. Browse for frame.asm in the folder where the activity files are located. In the Open File dialog box, set the zone to right_front_tire as shown.
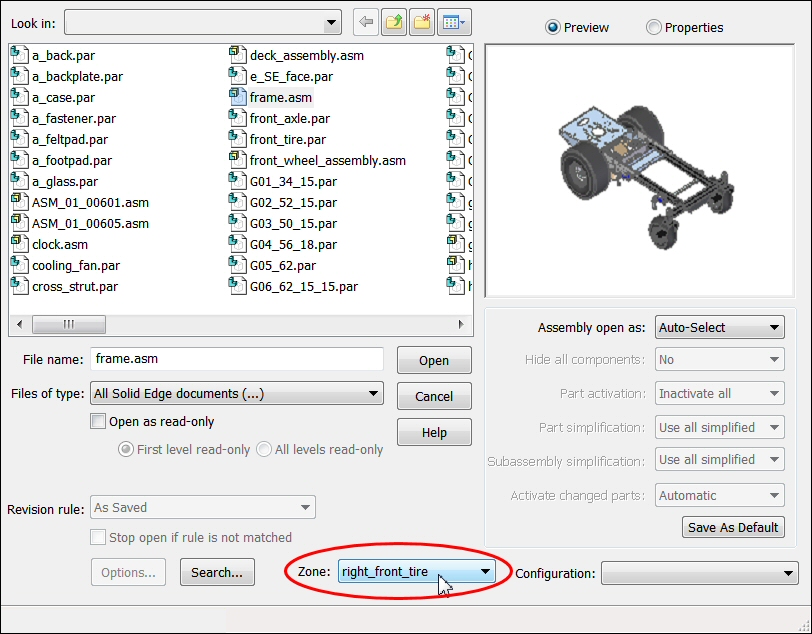
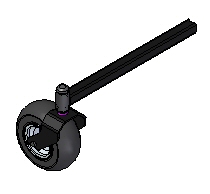
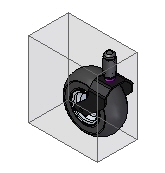
Observe the assembly showing the zone right_front_tire.
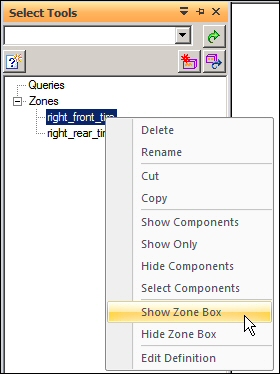
In the PathFinder tab set, on the Select Tools tab, right-click the zone right_front_tire, and then click Show Zone Box.
Note:
If PathFinder does not contain the tab you are looking for, such as Select Tools, Parts Library, or Alternate Assemblies, you can display it by doing either of the following:
Choose View tab→Show group→Panes  , and then select the tab name from the menu.
In any of the other open docking windows, such as the Layers tab or the Sensors tab, click the Display Docking Window Menu button  , and then select the tab name.
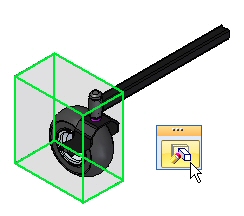
Select the zone box and then click Edit Definition as shown.
On the command bar, change the Zone Filter from Overlapping to Inside, and then click Show Components. Observe the results. The parts that are not fully contained in the zone are not shown.
Click Finish to complete the editing of the zone.